foundation Keycloak Login
At this point, you need an administrator account that can act as a super admin with full permisions to manage all parts of Keycloak. With this account, you can log into the Keycloak Admin Console where you create realms and users and register applications that are secured by Keycloak.
For more information about Keycloak administrator, see administration guide.
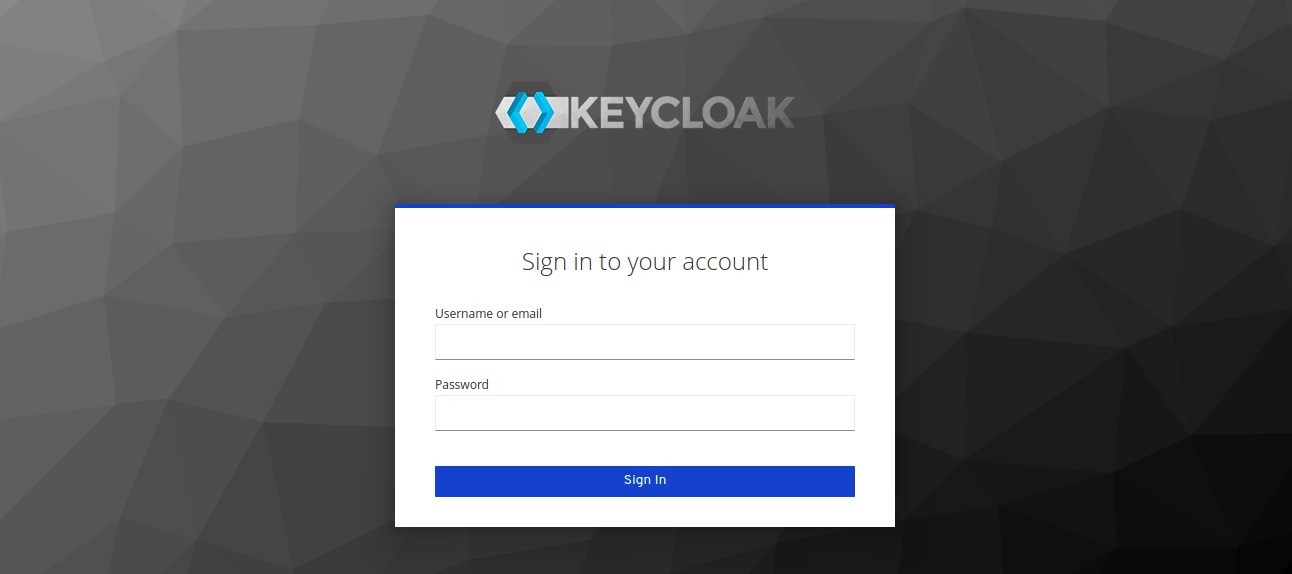
Login
Procedure
-
Access:
http://<server-ip>:<foundation-port>/keycloak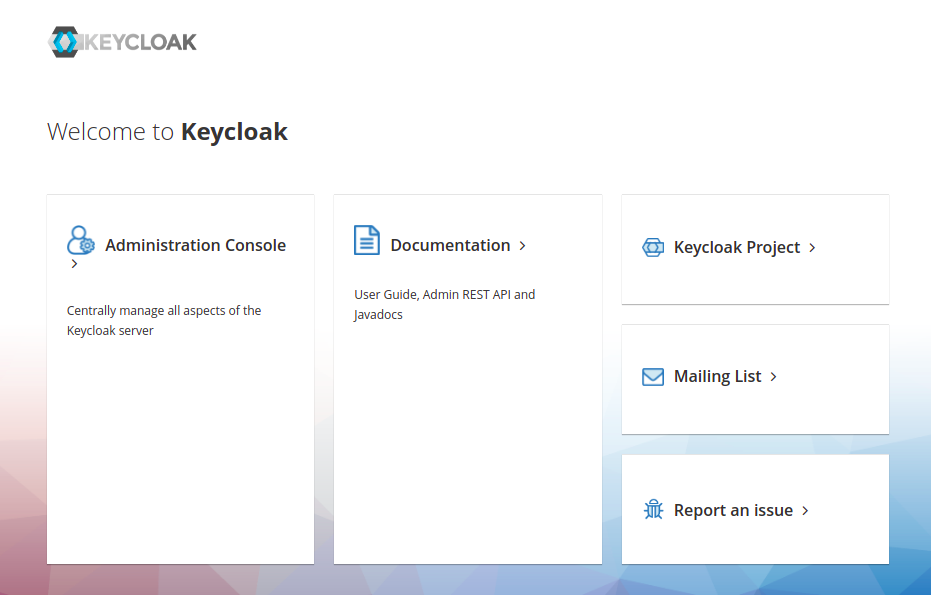
-
Click the Administration Console
-
Do login with default keycloak user.
Manager user
This user there is a specific role, for more information, see keycloak user administration.
user:
adminKeycloakpass:
adminKeycloakIMPORTANT: We recommend that you change the password after login, for higher security.
Check change user password.
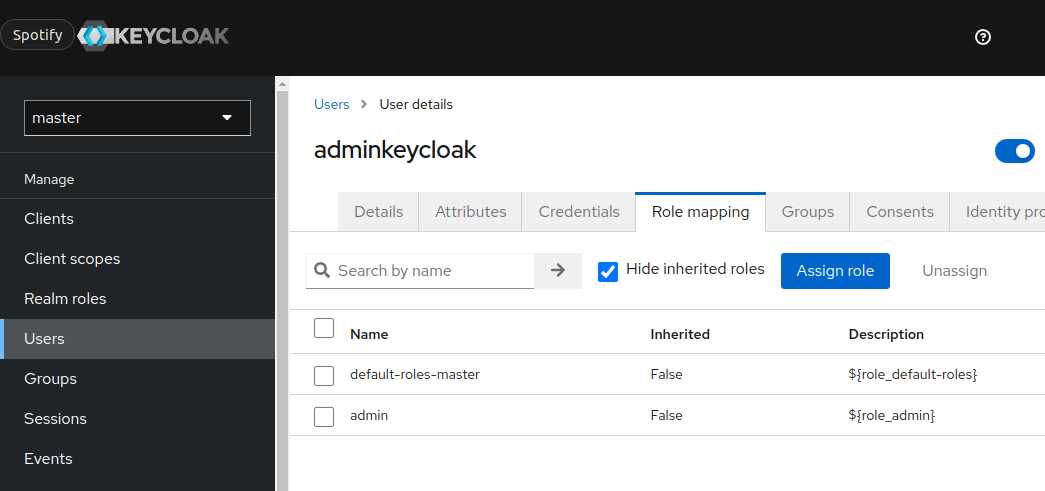
Creating keycloak user administration
Admin Console
Through the admin console administrators can centrally manage all aspects of the Keycloak server.
They can enable and disable various features. They can configure identity brokering and user federation.
They can create and manage applications and services, and define fine-grained authorization policies.
They can also manage users, including permissions and sessions.
Procedure
-
Select
masterrealm. -
Create a keycloak user.
-
Click the "Credentials tab" and "Set Password".
-
Click the "Role mapping tab" and assign
adminrole.